

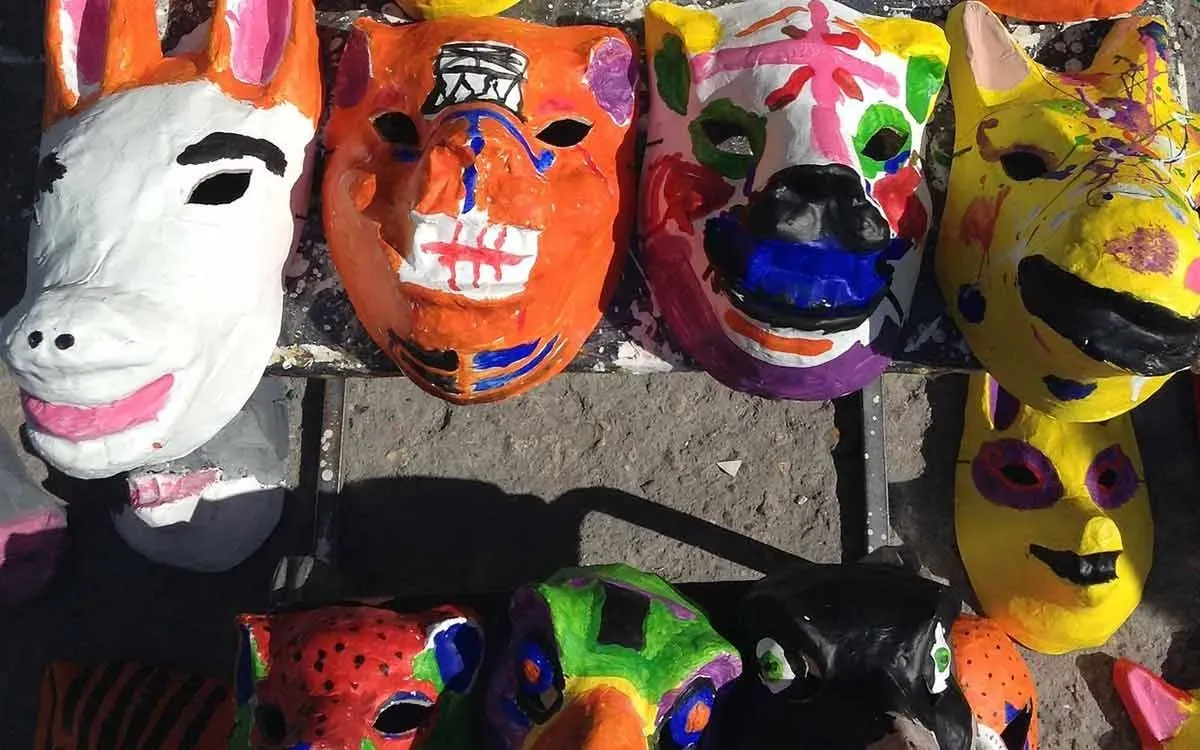
How To Make Paper Mache Animals Step By Step
Prototype © freepik, nether a Creative Commons license.
Permit's cutting to the chase; getting imaginative with paper mache is an awful lot of fun.
If your children love creating creatures, our simple steps will show you how to make papier mache animals suitable for kids of whatever historic period. Be prepared; making paper mache sculptures can become rather messy but, permit's exist honest, that'south part of the enjoyment!
Papier mâché originated in China, where it was used to make helmets over two thousand years ago. Commonly referred to equally newspaper mache in the UK, the artistic fine art form involves soaking paper strips in paste and and so placing them over a base of operations or mould. Information technology's really easy to make your ain paper mache paste, or wallpaper paste is a bully culling. Once the paper mache sculpture is dry, it tin be painted, decorated, and even finished with a glaze of varnish. Making paper mache animals is a great fashion to aqueduct energy and inventiveness, and will requite your kids a existent sense of accomplishment.
How To Make Paper Mache Paste
What You Need:
ane mug of plain flour.
1 mug of warm h2o.
Common cold h2o.
Method:
1. Sieve the flour into a large mixing bowl.
ii. Add the warm water and mix until well combined.
iii. Stir in cold water, a bit at a time, until you have a shine paste.
How To Brand Newspaper Mache Dirt
What You Need:
Newspaper.
Warm water.
A few tablespoons of table salt.
A few tablespoons of mucilage.
Method:
one. Tear the newspaper into tiny bits and put in a big bowl.
two. Add only plenty warm water to cover the newspaper. Leave to soak overnight.
3. Use your hands to knead and mix the paper until information technology feels similar to oatmeal. Remove every bit many lumps as possible; you lot may need to add a little more water and leave it to soak for a fleck longer.
4. Once the texture is smooth, add a few tablespoons of salt and mix with your hands.
5. Clasp out whatever excess water and mix in a few tablespoons of glue.
6. You can either use the paper mache dirt immediately or store it in an airtight bowl in the refrigerator for up to three days.
Easy Dragon For Beginners
Ages: 3+
What Yous Need:
Chimera wrap.
Sellotape.
Newspaper.
Papier mache paste.
Newspaper mache clay.
PVA glue.
Paints.
Paintbrushes.
Googly eyes.
Annihilation else you lot want to utilise to decorate your dragon.
Method:
ane. Shape the trunk of your dragon out of chimera wrap. Secure it with Sellotape.
2. Now, use bubble wrap to make a long thin tail, with a point at the terminate. Curve the tail and use Sellotape to keep it in place.
3. Side by side, make a head and cervix shape. Don't worry if your shapes aren't perfect at this stage.
4. Use the chimera wrap to cream 4 dragon legs. Make them thick at the top, and so long and thin. Use Sellotape to put bends in them for the knees and feet.
5. Stick all the bits of your dragon together with Sellotape.
half-dozen. Encompass your dragon with layers of newspaper mache until you are happy with the shape. Leave to dry.
7. Shape spines from paper mache clay. Wait for them to dry, then glue to your dragon'south dorsum.
viii. Paint, decorate, and stick on the wiggle eyes to bring your dragon to life.
Beautiful Butterfly
Ages: three+ (with parental help).
What Yous Need:
Newspaper.
Sellotape.
Papier mache paste.
Paper-thin.
Ii pipe cleaners.
Gum pen or liquid glue.
Paints.
Paintbrushes.
Method:
1. Make the shape of the butterfly's body past scrunching up a canvas of newspaper and securing information technology with Sellotape.
2. Dip paper strips in papier mache paste and use them to encompass the butterfly body. Leave overnight to dry.
3. Cutting butterfly wings out of cardboard and adhere to the butterfly torso with glue.
4. An developed must now utilise something sharp to make two holes at the top of the body for the pipe cleaners to fit in.
5. Put a driblet of gum onto the ends of the pipe cleaners and slot into the holes to brand the butterfly'due south antennae. Hold in position for a couple of seconds until the gum dries, so coil the tops of the antennae.
6. Make your butterfly beautiful with paint. Yous could also employ glitter, stickers, or other decoration.
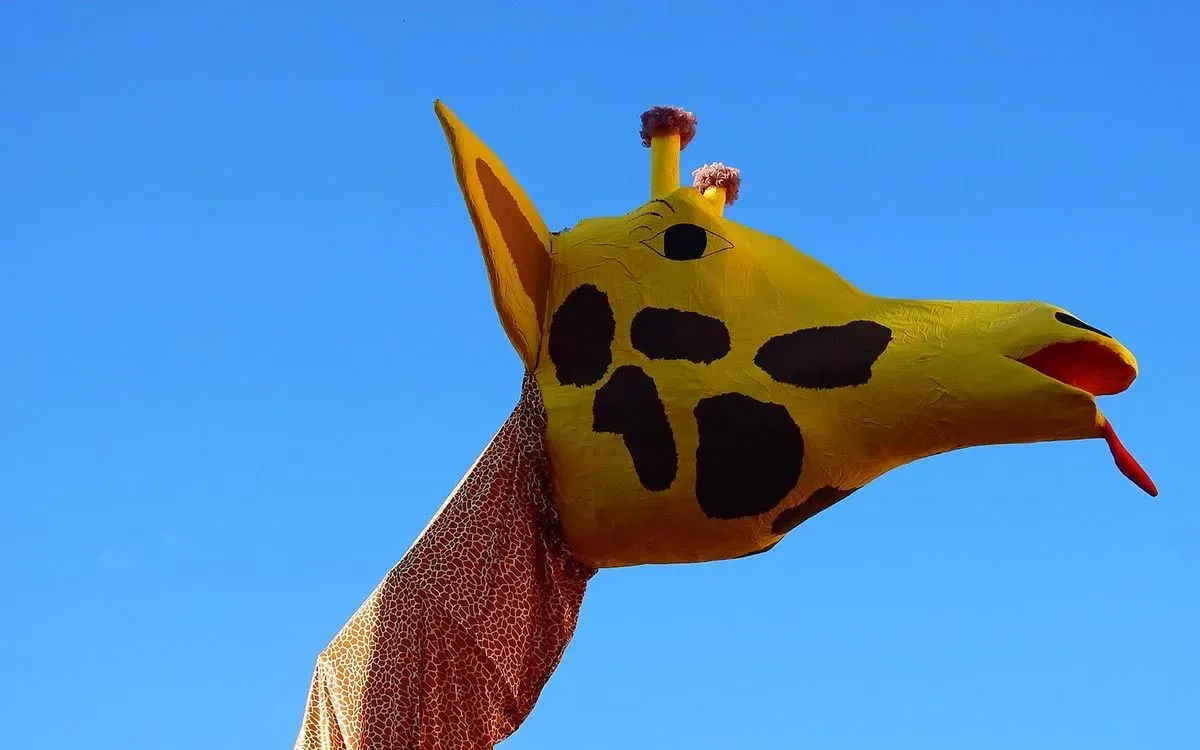
Newspaper Mache Animal Heads
Ages: 3+
What Yous Need:
Newspaper.
Masking record.
Papier mache paste.
Cardboard.
Scissors.
Paints.
Paintbrushes.
Method:
1. Pick an fauna! This method tin can be used for all paper mache animals. Heads of animals such as foxes, cats, and dogs are good ones to start with.
ii. Use crumpled newspaper and masking record to build the basic shape of your fauna head.
three. Cover with a layer of paper mache and leave to dry.
4. Cut ears out of paper-thin and use masking tape to adhere them to the beast head.
5. Cover with more than paper mache.
half-dozen. If you're feeling adventurous one time your paper mache animal head is completely dry, you can add in features of the confront, such every bit optics, eyebrows, or nostrils, using extra paper mache.
vii. Then pigment, decorate, and marvel at your cosmos!
Ambrosial Paper Mache Dirt Canis familiaris
Ages: eight+
What You lot Demand:
Newspaper.
Masking tape.
Papier mache paste.
Newspaper mache clay.
Cardboard.
Scissors.
Plastic bags.
Paints.
Paintbrushes.
Method:
1. Firstly, you need to create an armature pattern; this is a framework around which your model will exist built. There are lots of armature patterns of dogs available to print, or you can hand draw your own.
2. Use the pattern to cut your armature out of cardboard.
3. Stuff crumpled upward paper into plastic bags and adhere to the armature with masking tape to create the 3D shape of your dog. You may need a bit of patience with this step, but it doesn't need to be perfect.
4. Embrace the armature in paper mache strips and leave to dry out.
5. Now cover your dog in a layer of paper mache clay, then use the dirt to sculpt the features of your dog.
6. Leave to dry out, then paint and decorate your perfect pup.
Wonderful Wire And Paper Mache Moo-cow
Ages: 9+ (with parental supervision).
What You Need:
Wire.
Wire cutters.
Newspaper.
Papier mache paste.
Paints.
Paintbrushes.
Method:
1. Bend a piece of wire into a U shape to create the two front legs, then repeat to make the back legs.
ii. Cut ii pieces of wire slightly longer than you want the length of the moo-cow'south body to be. Use them to join the legs together at either side; twist the wire effectually the legs to secure.
three. Use a slice of wire to secure the front legs together. Practice the same with the back legs.
four. To make the cow's cervix, twist a piece of wire onto the top to the front legs.
5. Brand a caput shape out of a slice of wire and secure to the finish of the cervix.
6. Wrap minor papier mache strips around the pieces of wires, so that only the wires are covered and the structure is withal hollow. Leave to dry.
7. Wrap larger paper mache strips effectually the construction so that it is no longer hollow. Go out to dry.
8. Pigment, and be proud of your difficult work.
Source: https://kidadl.com/articles/fantastic-papier-mache-animals-that-kids-can-make
Posted by: masonpate1995.blogspot.com
0 Response to "How To Make Paper Mache Animals Step By Step"
Post a Comment